11 Shirts Every Man Should Have Hanging In His Wardrobe
The modern shirt is a mainstay of menswear wardrobes, but not all are created equally. We’ve curated 11 of the most important styles to add versatility and style to your looks.
The shirt… dare we call it humble? Sure, it’s an integral piece of menswear kit, and as democratic as any item of clothing ever designed, and yet it still persists today, virtually unchanged in centuries bar a few fabric and button upgrades.
Timelessness is the hallmark of a classic garment, and therefore the shirt is exactly that. With a variety of collar styles and fabric configurations, shirts are still an essential part of both our smart and casual wardrobes – and that’s not going to change anytime soon.
With this in mind, we’ve rounded up the types of shirt every man should have at his disposal – tick these off and you’ll be covered for every occasion, no matter your particular aesthetic.
Key types of shirts for men
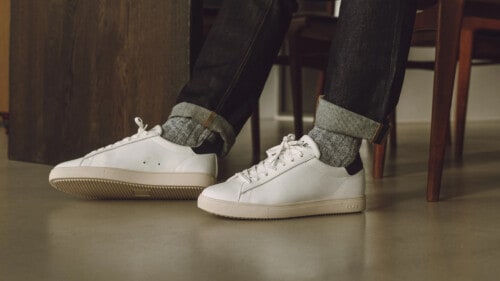
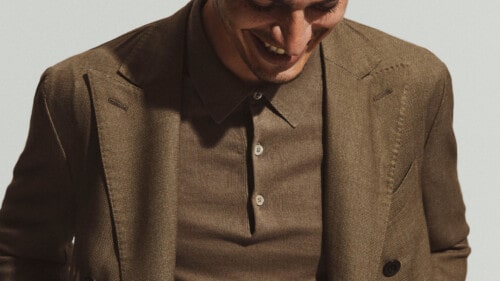
Oxford cloth button-down
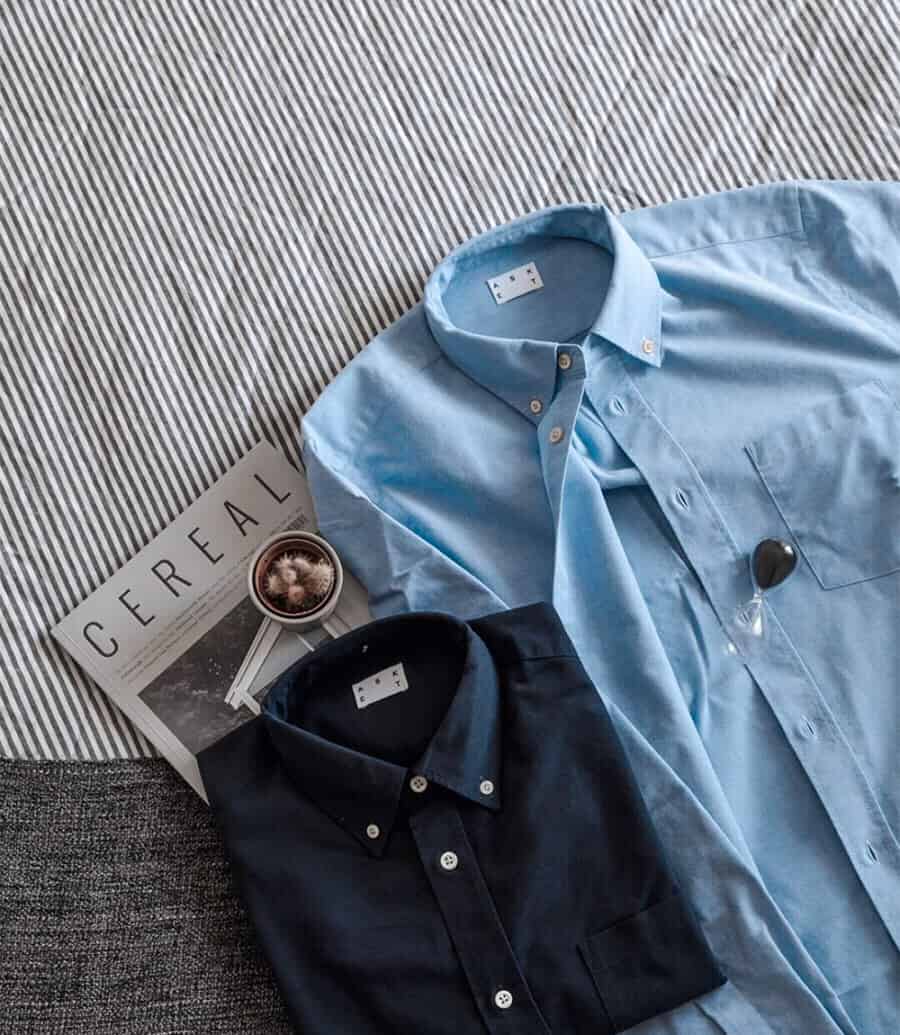
ASKET
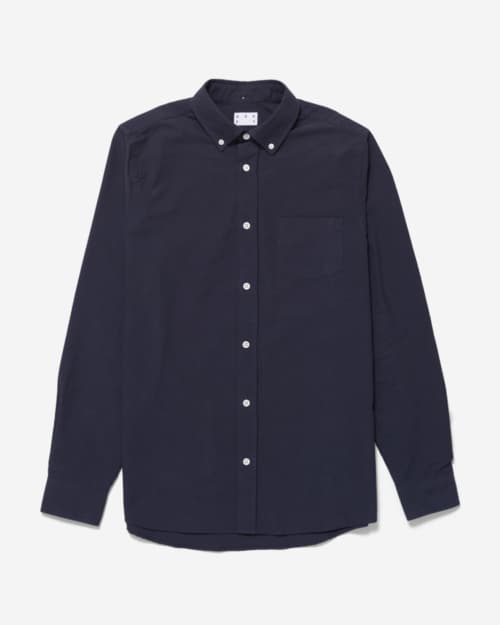
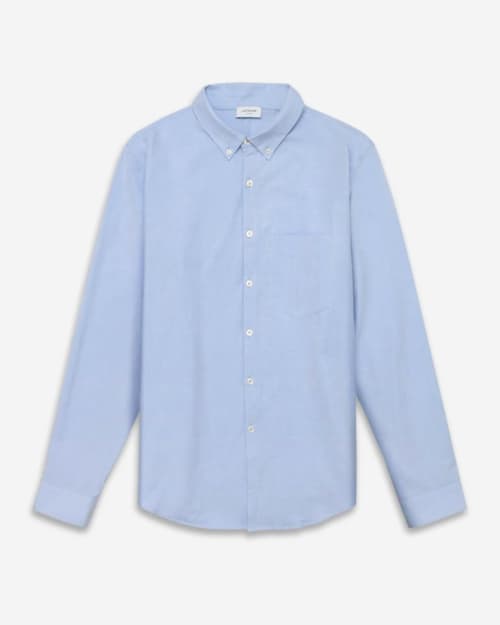
Ever since the 1950s, the Oxford cloth button-down (or OCBD for short) has had a close affiliation with the preppy aesthetic. With a soft-rolled collar and even softer handle to the cloth, its charm is in the way it effortlessly dresses down tailoring and elevates knitwear.
The button-down collar is a throwback to the original polo shirt, which was devised by British army officers in India to prevent the collar flapping in their faces when they played polo. Pastel tones are de rigueur in the summer months, nonchalantly worn with a French tuck into tailored shorts or chinos, the collar casually peeping out from a crew-neck sweater.
When worn with a tie and blazer, the OCBD just softens the formality of what could otherwise be a stuffy, uniform look.
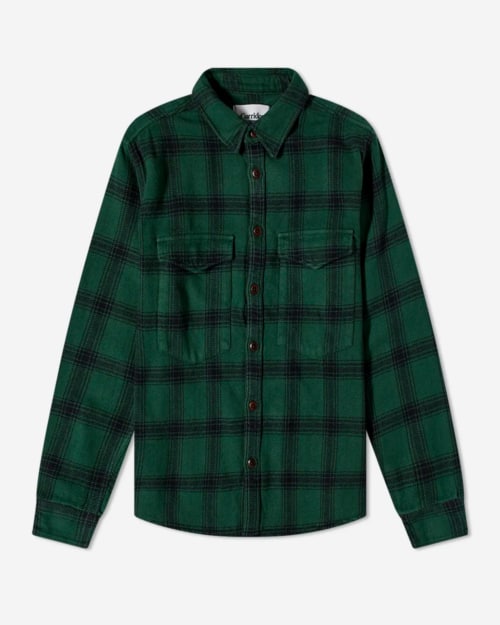
Flannel shirt
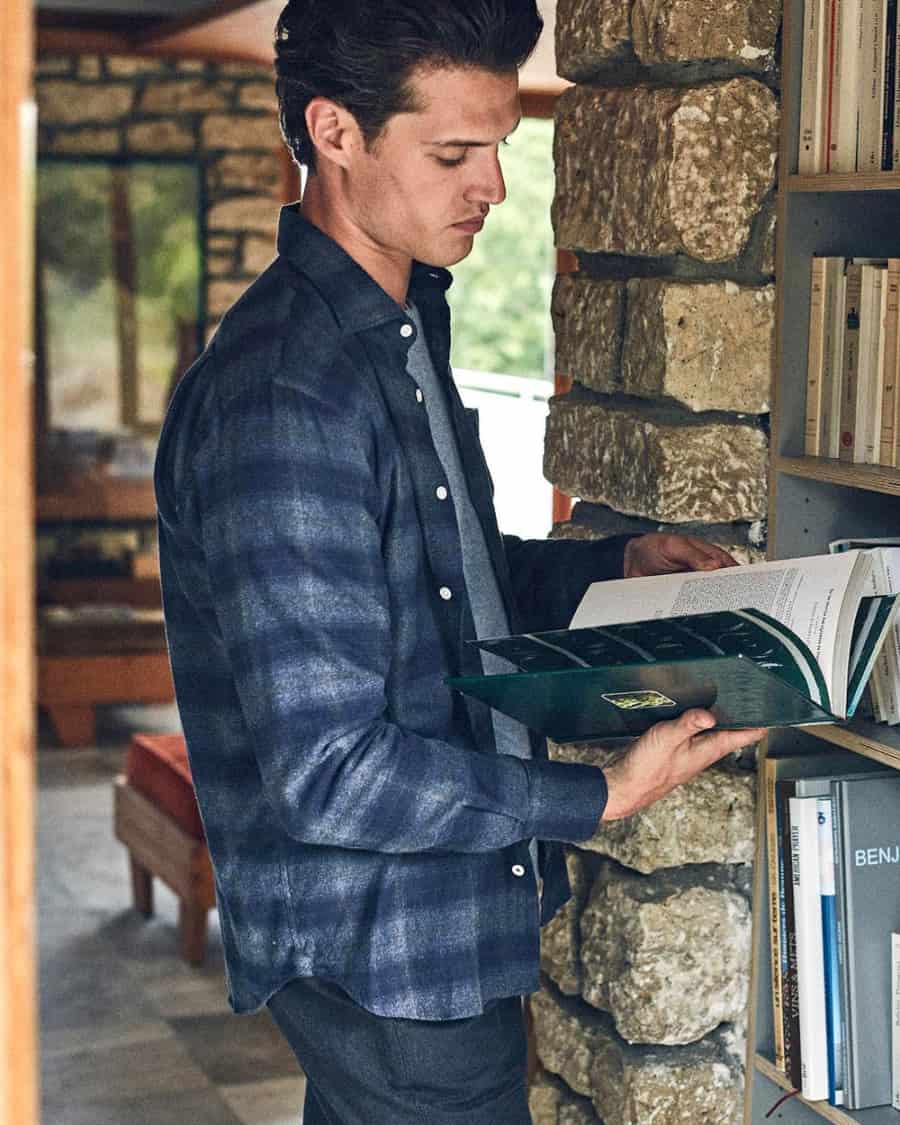
Hartford
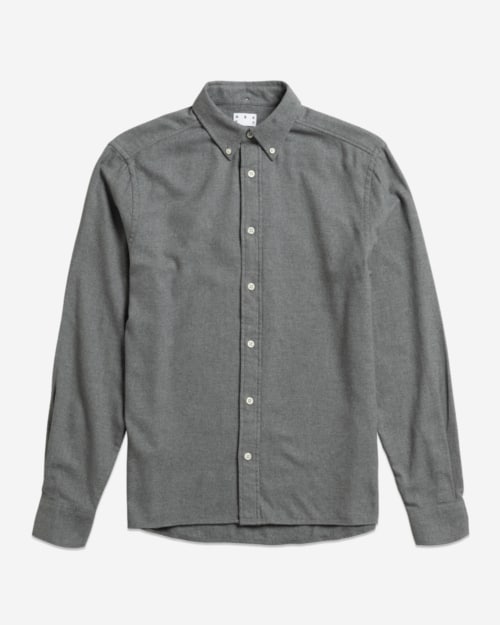
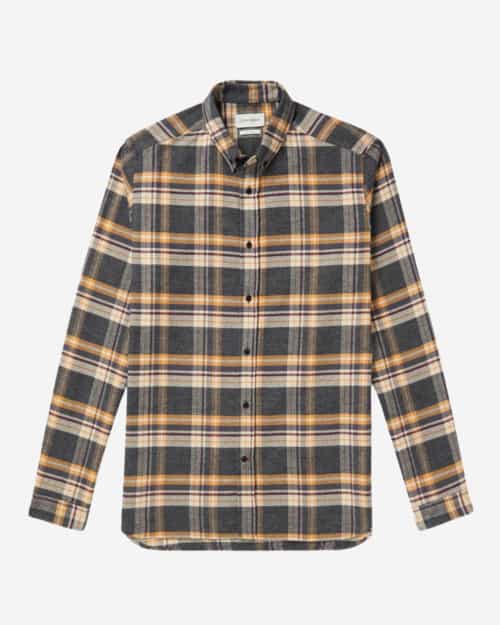
From the unforgiving valleys of Wales to the 90s grunge movement via the Industrial Revolution and the Great Depression, the flannel shirt has been a symbol of tough, enduring masculinity, as well as a motif for nonconformity. Today, its ‘meaning’ is benign in comparison, but it’s no less an important part of a stylish modern wardrobe, especially in the fall and winter months when it really comes into its own.
‘Flannel’ is a fairly loose term, which is why you can find flannel shirts made from cotton, wool or synthetic fibres. Essentially it describes a material that is reasonably heavy, soft and brushed on one or both sides to create an ever so slightly furry nap. It’s believed to have originated in Wales in the 17th century, when it was usually made from a coarse wool, and was worn by farmers who needed something warm and comfortable to wear to brave the weather in the valleys.
These days, 100% cotton tends to be the fibre of choice, although it can be blended with silk or man-made materials, too. It’s a great way to add some subtle texture to a casual outfit and works equally well with relaxed tailoring and workwear garments.
Plaid shirt
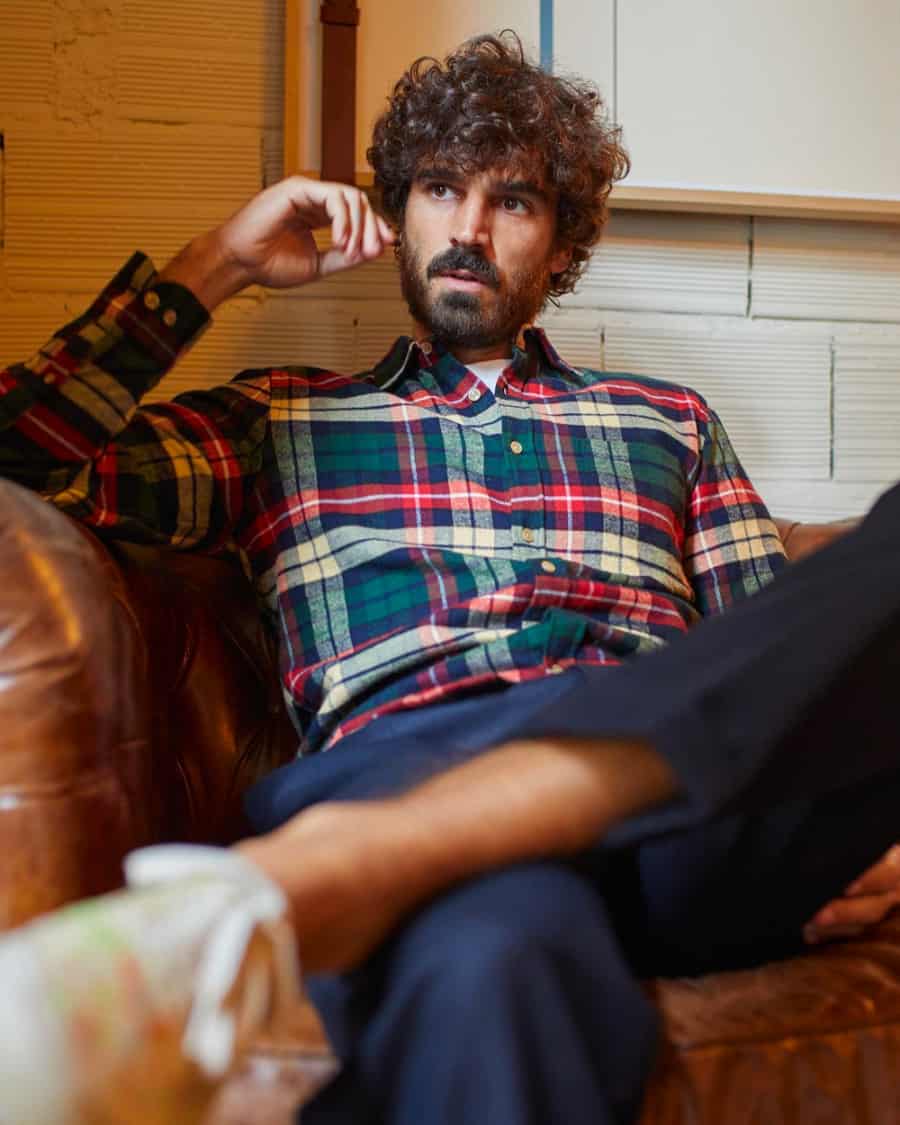
Portuguese Flannel
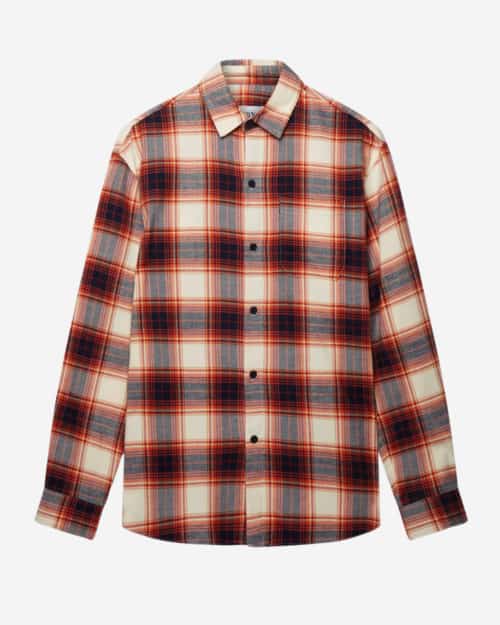
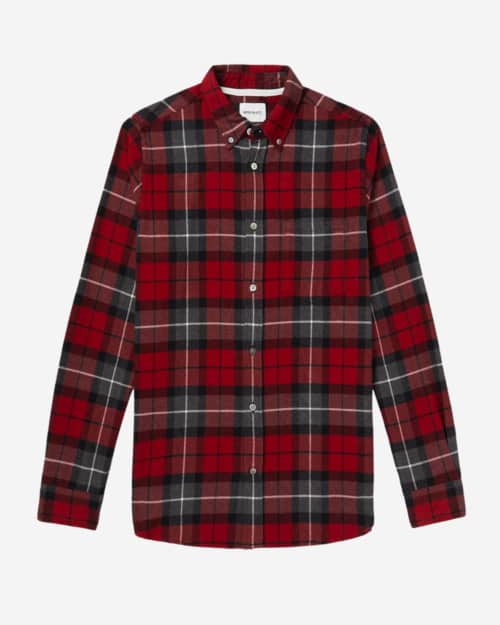
Plaid has a fascinating history, with the earliest known tartan plaid dating back to Ancient Roman times in Falkirk, Scotland, around 245AD. After the Dress Act of 1745, enacted to quell the Jacobite rebellions, you would have been jailed or worse if spotted wearing plaid. Thankfully, plaid receives no such recriminations today, and is extensively used throughout shirting, with perhaps the most recognisable being the vibrant, multicoloured Madras check.
Popularised by Kurt Cobain and the grunge movement of the 90s, plaid shirts have always been associated with a workwear aesthetic, and as such make for great flannel styles you can pair with raw selvedge denim and work boots. Look for soft organic cotton flannel cloth for the most comfortable handle.
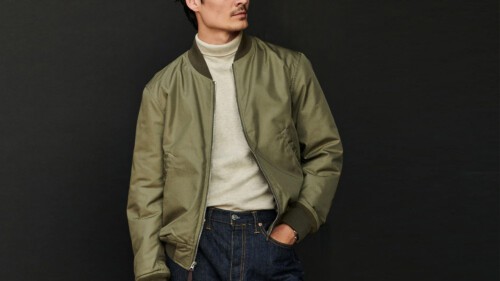
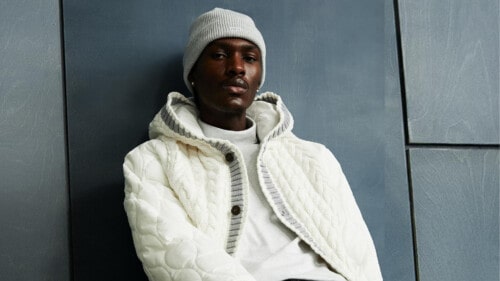
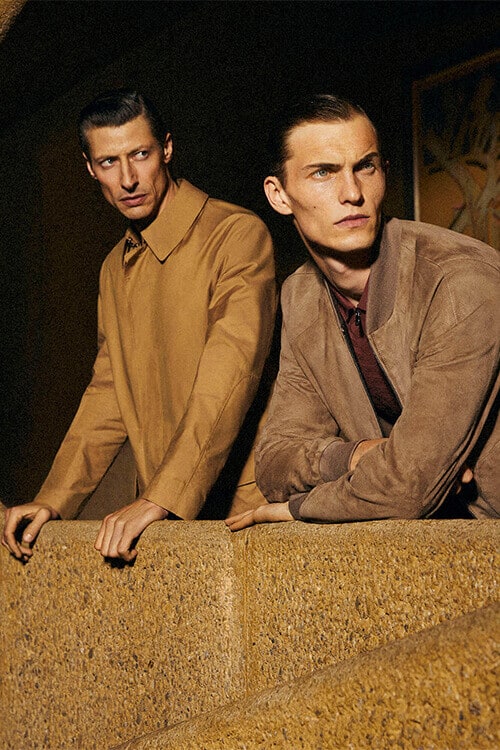
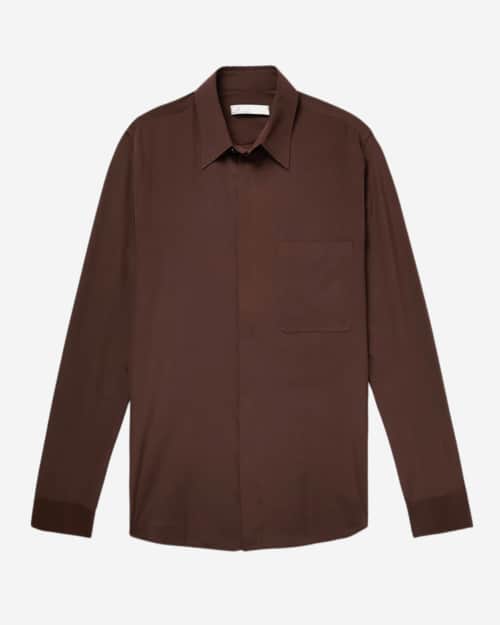
Overshirt

Mango
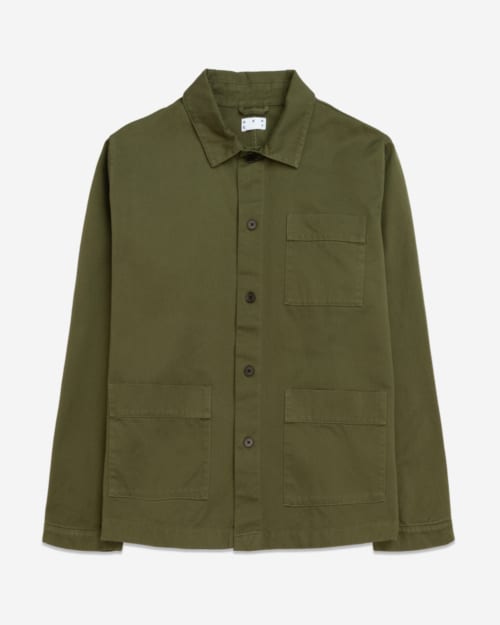
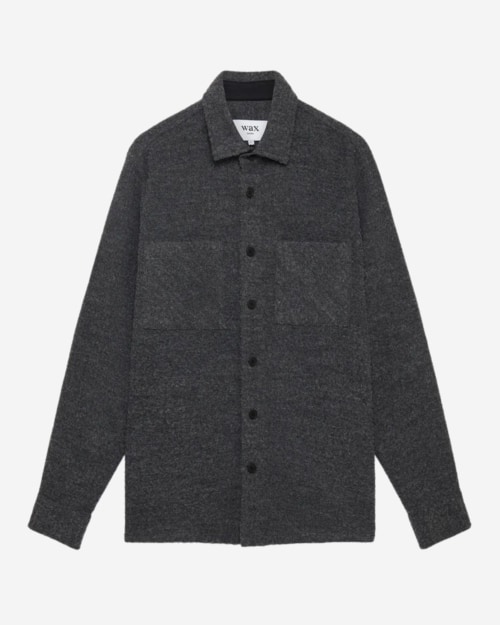
Don’t sleep on the overshirt – it’s incredibly versatile in the winter months, being a great mid-layer to add colour, pattern and texture to your look. On warmer days, you can wear the overshirt as an outer layer, using pattern and texture to elevate a simple T-shirt, while on colder days you can wear a lightweight technical jacket over it.
The main consideration to make with the overshirt is fabric. For a soft textural look then wool flannel is hard to beat, but a heavyweight cotton style with patch pockets will be a nice addition to a workwear-inspired wardrobe. You can even find overshirts lined with a thermal insulation fabric in 2024. Otherwise, lightweight cotton and linen styles make for breezy layering pieces as we transition into spring and summer.
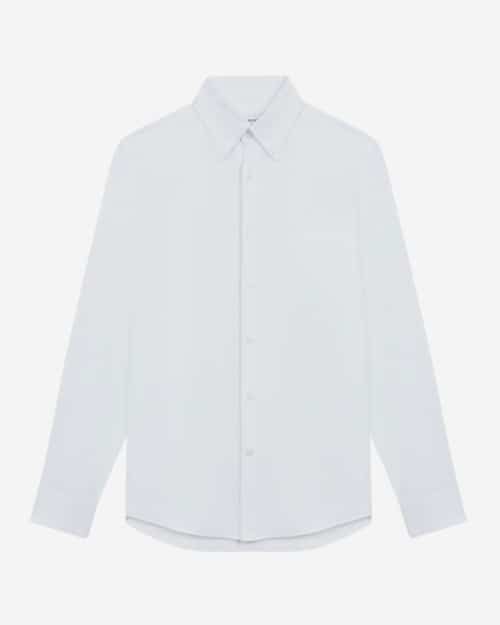
Dress shirt
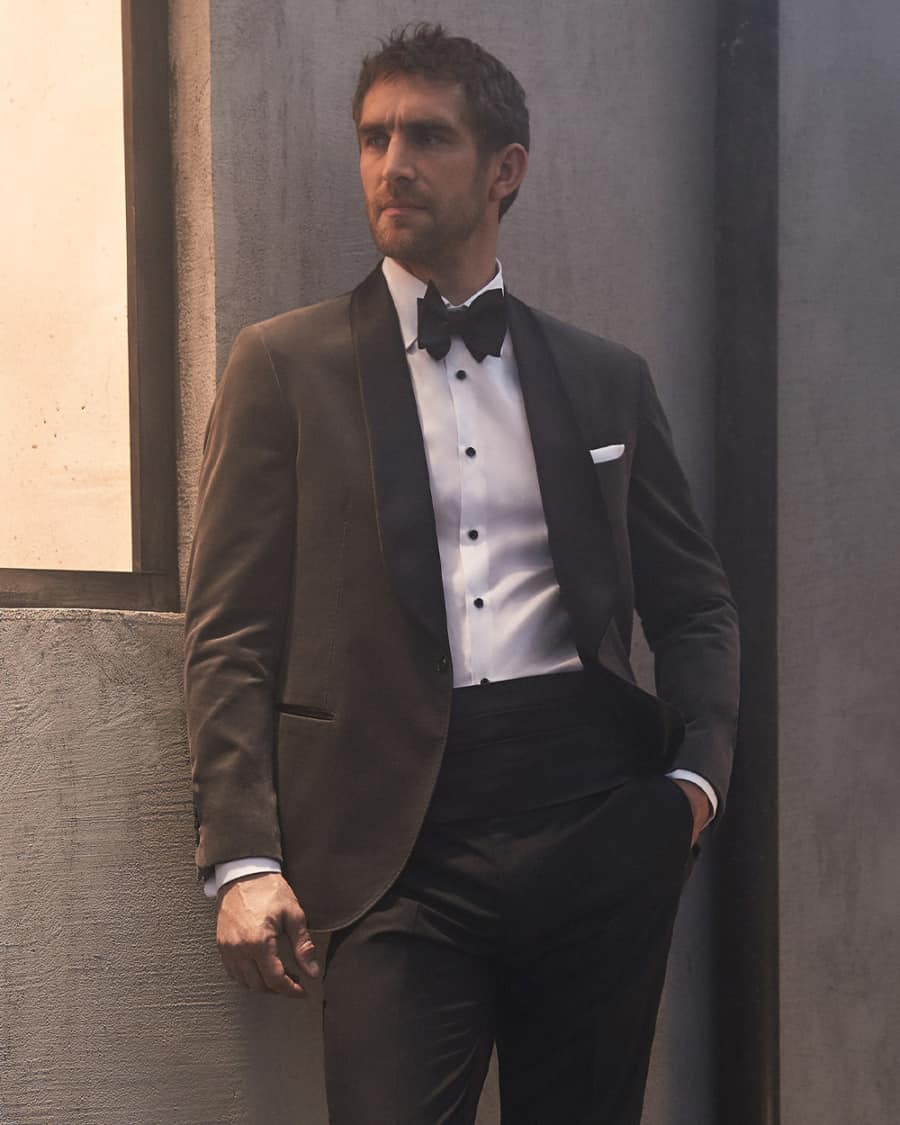
Brunello Cucinelli
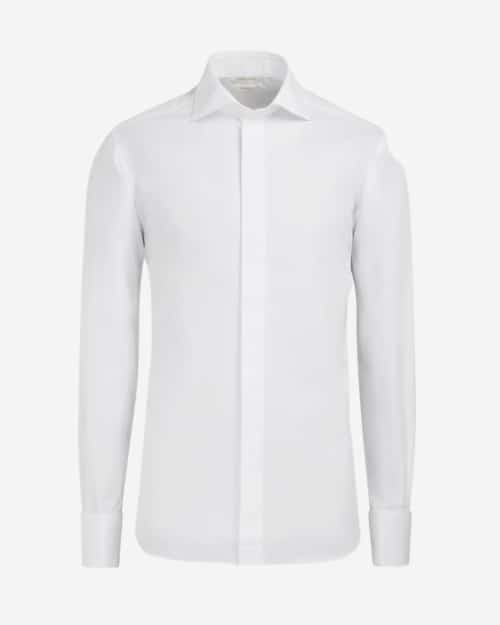
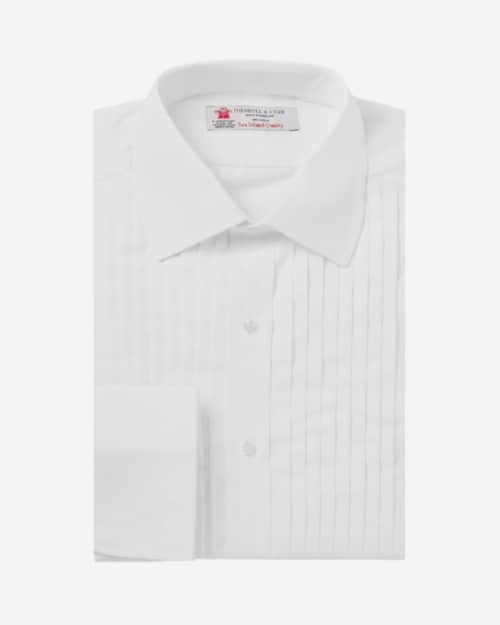
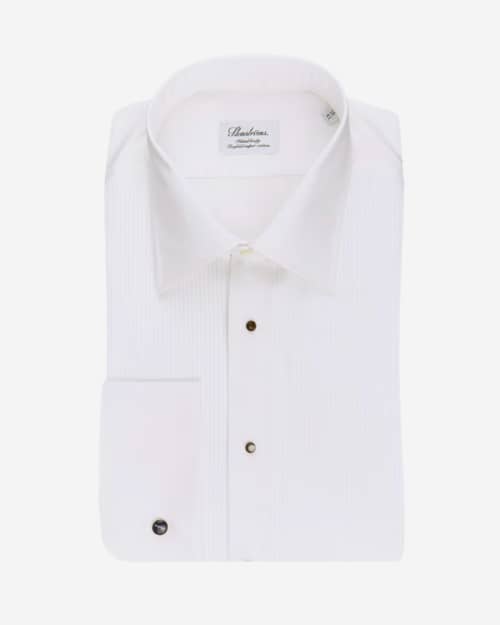
While it may only get a handful of outings per year, every man needs a dress shirt in his wardrobe. Almost exclusively worn with black tie or other formalwear such as morning dress, the dress shirt is traditionally white (although contemporary styling has led to many different colours being produced today) with a stiff spread collar, French cuffs and cut in a heavyweight cotton poplin.
There are many variations of the dress shirt, with popular options being a bib front, pleated front or plain front with a hidden placket. You’ll find some of the world’s finest dress shirt makers are all congregated around Jermyn Street in London, where the likes of Turnbull & Asser produce both off-the-peg and bespoke versions.
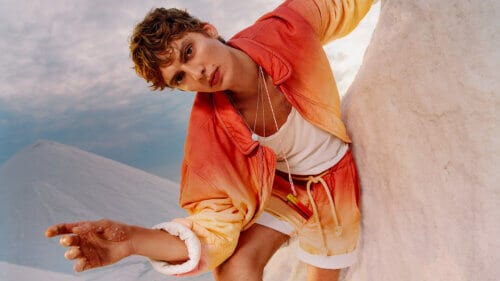
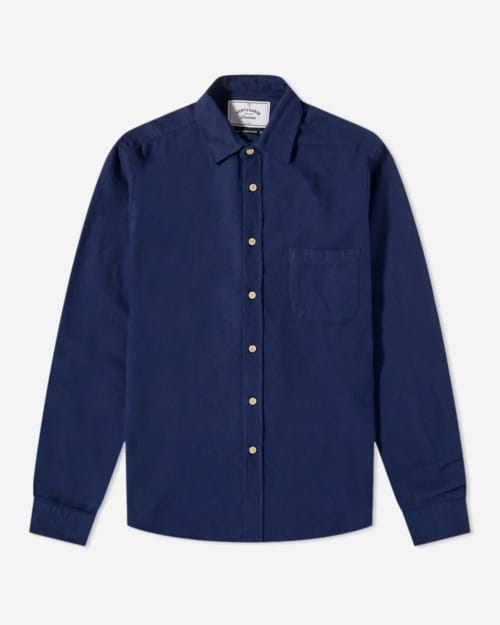
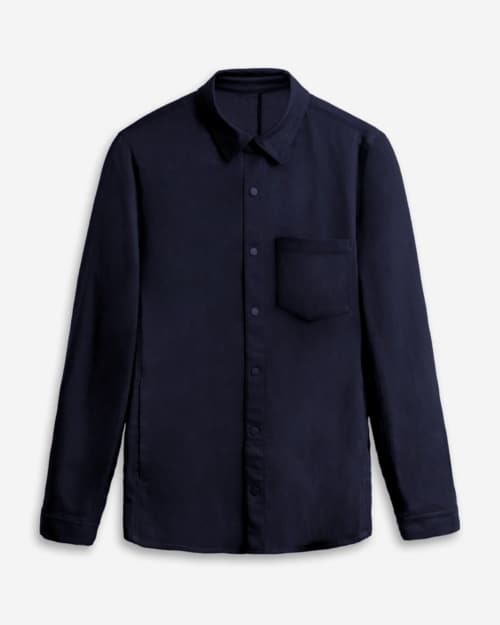
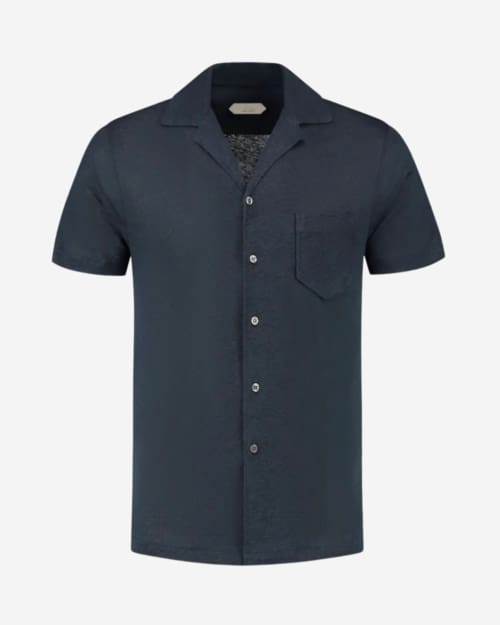
Linen shirt
Mango
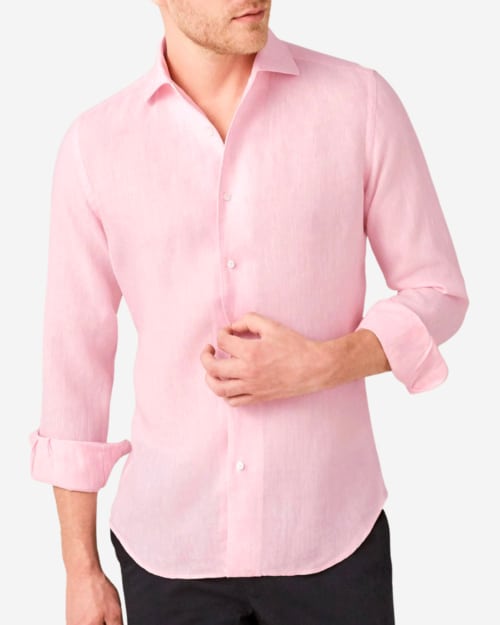
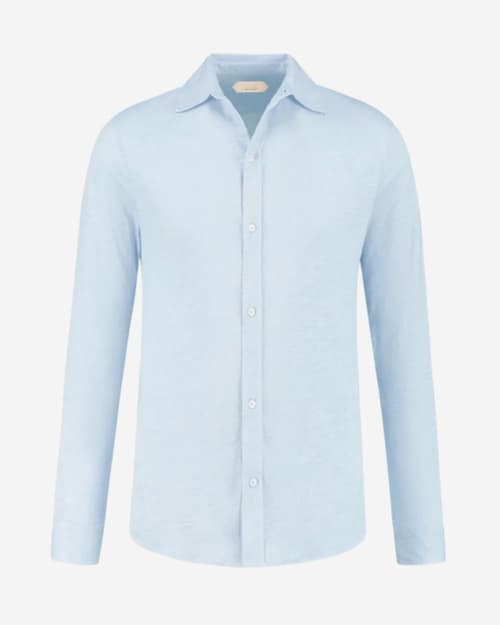
The ultimate summer garment, the linen shirt is a necessity in warm weather. Derived from fibres from the flax plant, linen is lightweight, breathable and has that inimitable natural creasing which gives it such a nonchalant aesthetic.
Its ability to take dye well means linen shirts come in all sorts of colours and tones, but they lend themselves especially well to lighter pastels, as well as stripe patterns.
The linen shirt is a beautiful piece to dress down smart summer tailoring, but it’s also equally at home thrown over a pair of tailored shorts and espadrilles for a classy Mediterranean look.
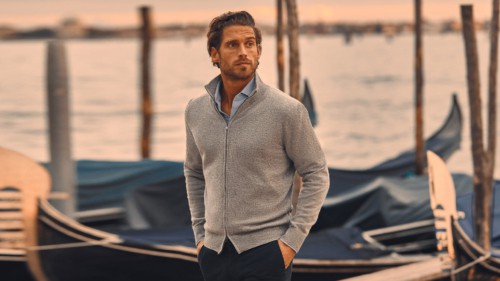
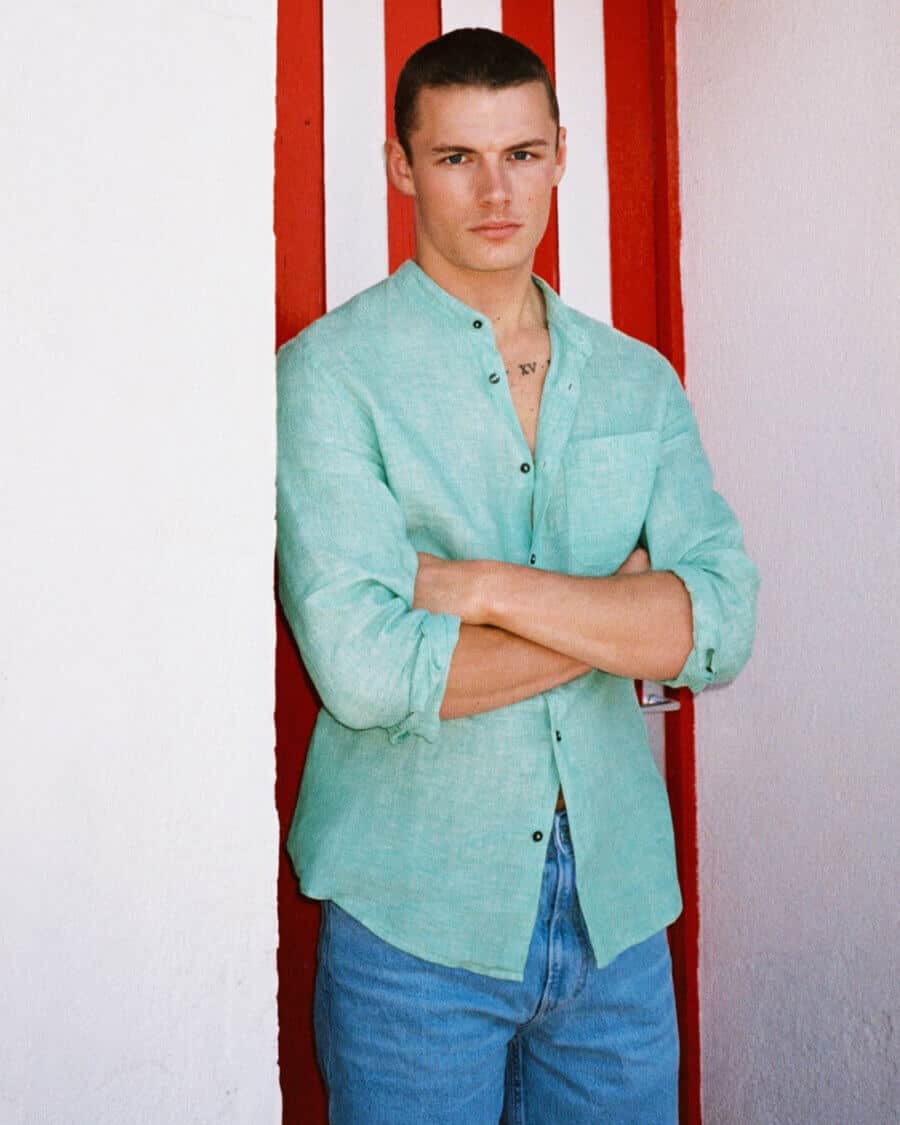
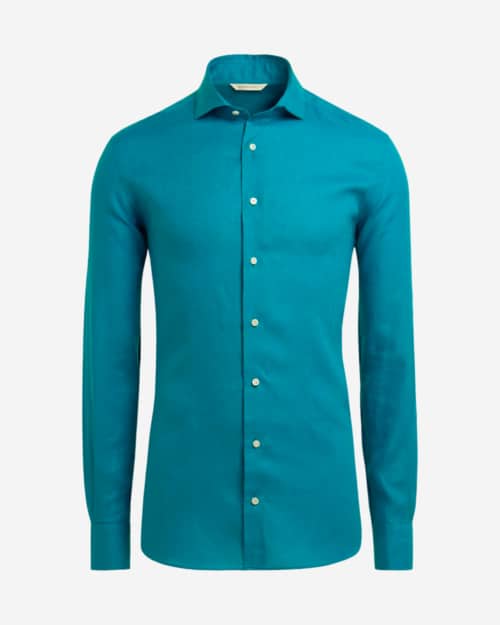
Grandad/band collar shirt
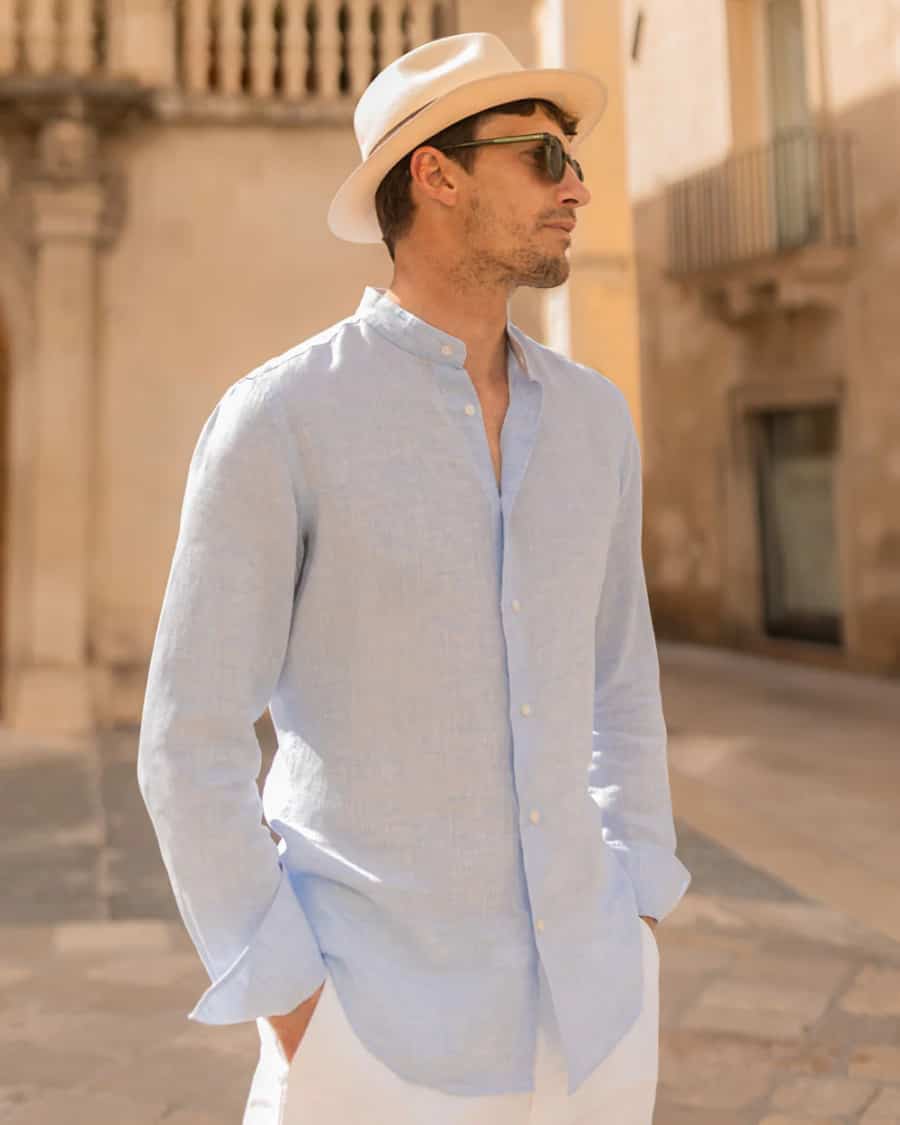
Luca Faloni
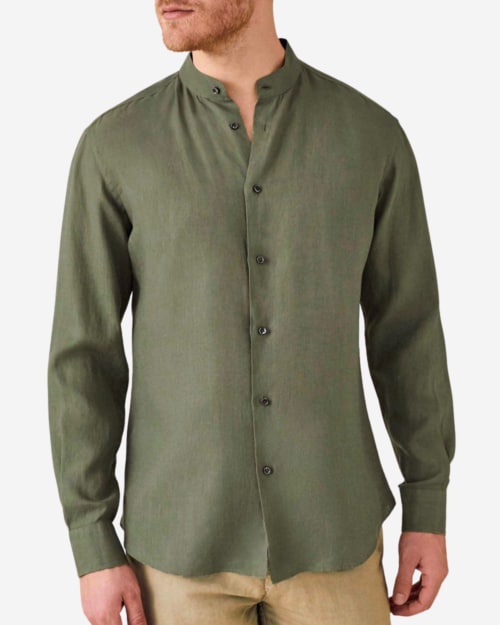
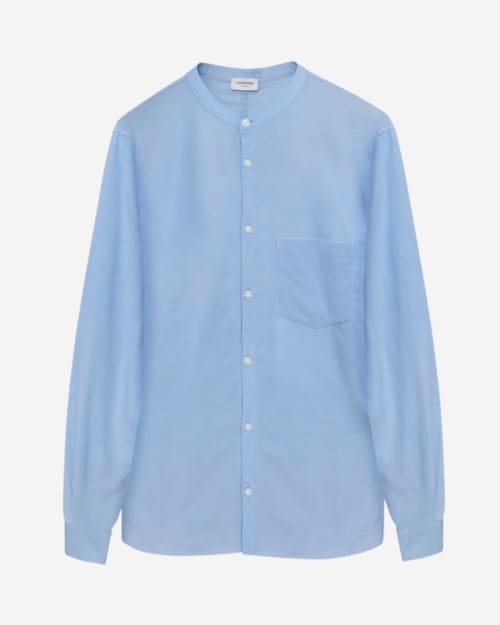
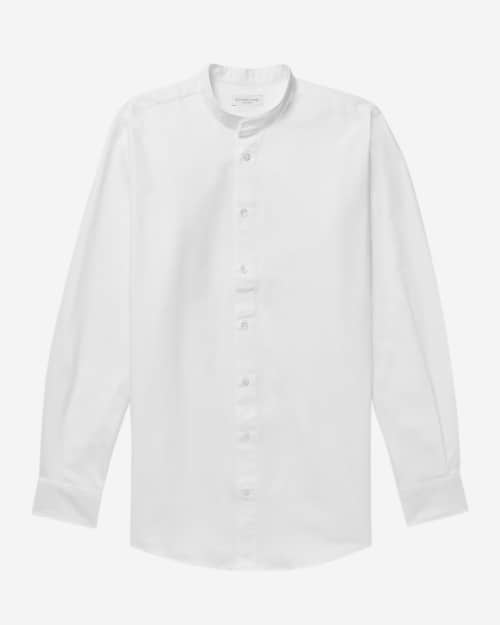
The grandad collar shirt, otherwise known as the mandarin collar or band collar shirt, is defined by the absence of one rudimentary shirt detail: the collar. It can be traced back to one enterprising lady by the name of Hannah Montague, a New York native who in 1927 took it upon herself to cut off her husband’s shirt collar in order to better wash the garment separately. And with that stroke of female intuition was born the detachable collar.
It was picked up by the British and Irish working classes of the 20s and 30s since they rarely need to wear a tie. The modern grandad shirt was went global in the 50s thanks to Indian Prime Minister Jawaharlal Nehru’s preference for muslin grandad collars. While the Nehru collar was seen as a subcontinent garment only, it was the arrival in India of four guys called John, Paul, Ringo and George, who started wearing collarless shirts, and thus they became widespread.
In 2024, the grandad collar is widely associated with workwear looks. However, it is incredibly versatile: casual enough to hold its own as a summer shirt, worn with chinos or shorts, while the lack of any collar means it can also be layered beneath a crew-neck sweater on colder days without being visible.
Silk shirt
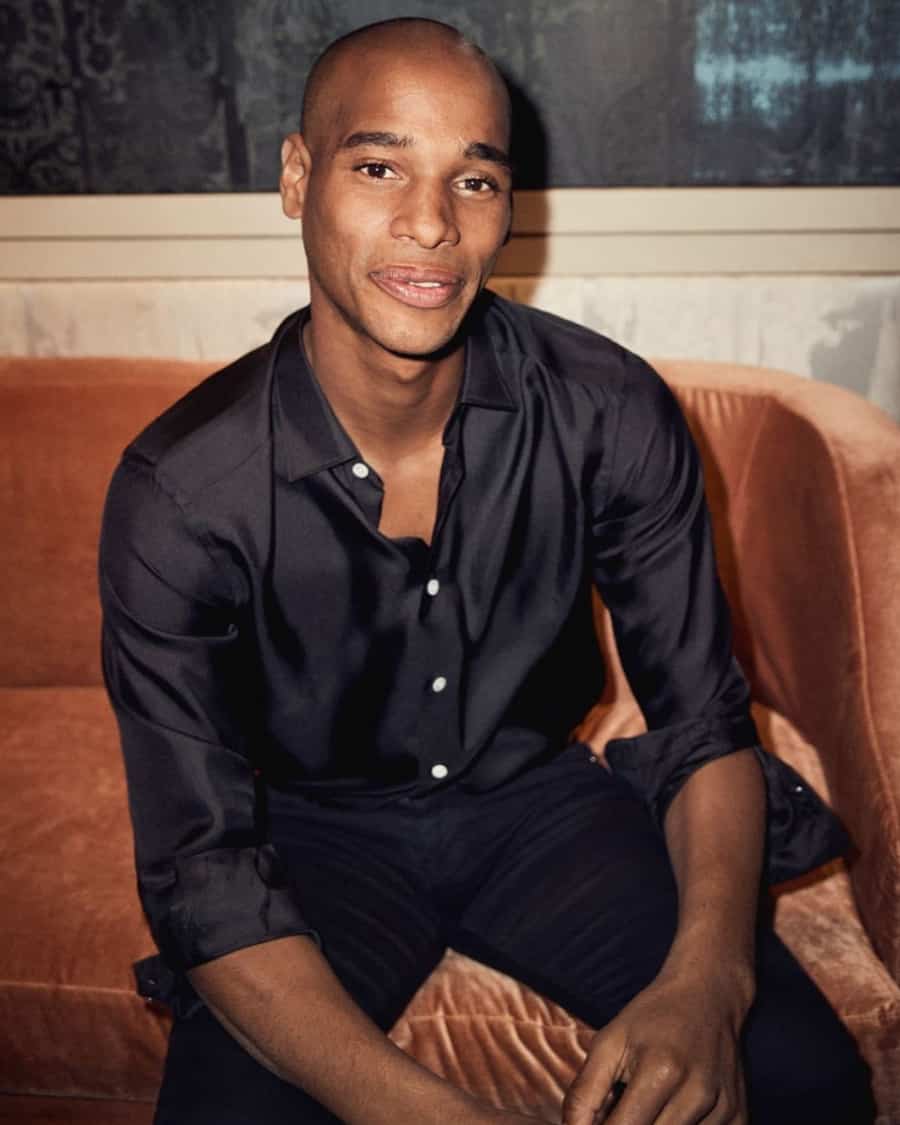
Eton
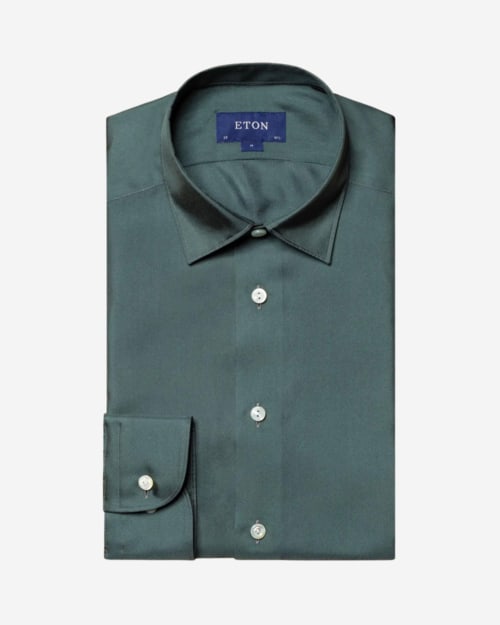
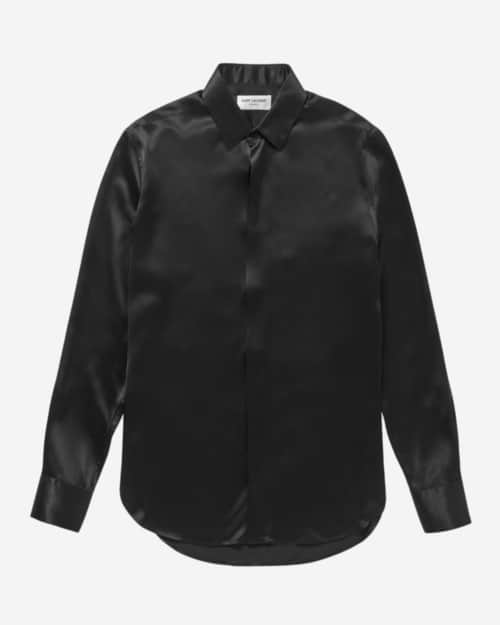
Silk textiles date back to China around 6500 BC. For around 3,000 years, the manufacture of silk was China’s great secret until it opened up the ‘Silk Road’ and began exporting this incredible cloth to the rest of the world.
Production of silk is complex, hence the elevated price, but the fabric is quite unlike anything else. It has traditionally been made into a vast array of high-end garments, from robes and blouses to ties, scarves and jackets, but more recently menswear has benefitted from a glut of excellent silk shirts. The driving force behind the movement were streetwear brands like Casablanca, which burst onto the scene with its maximalist silk shirts.
As a party piece, the silk shirt is unparalleled, boasting a lustre and drape that no other cloth can get close to.
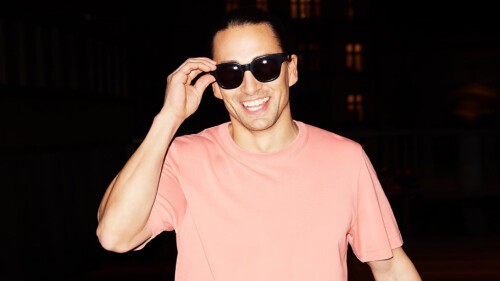
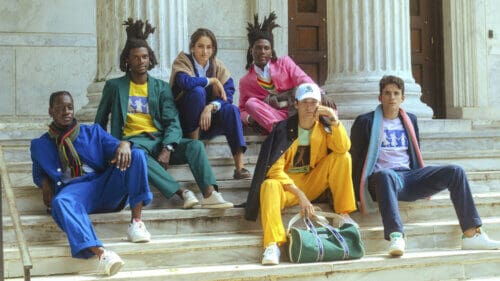
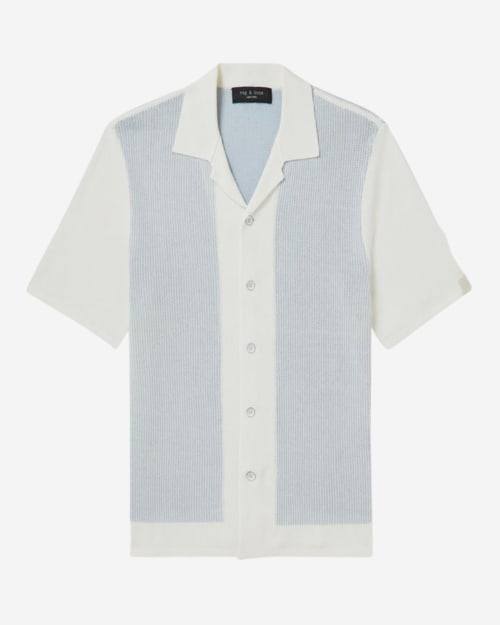
Polo shirt
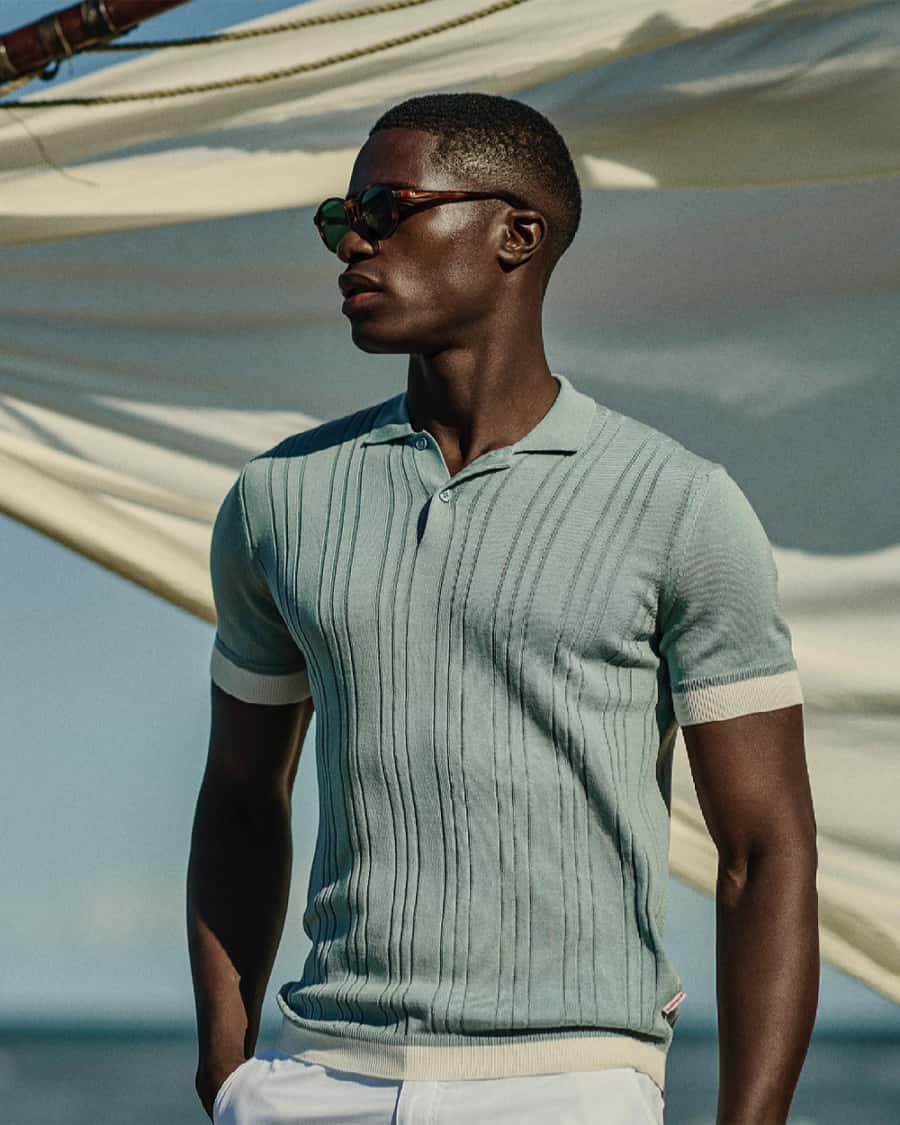
Orlebar Brown
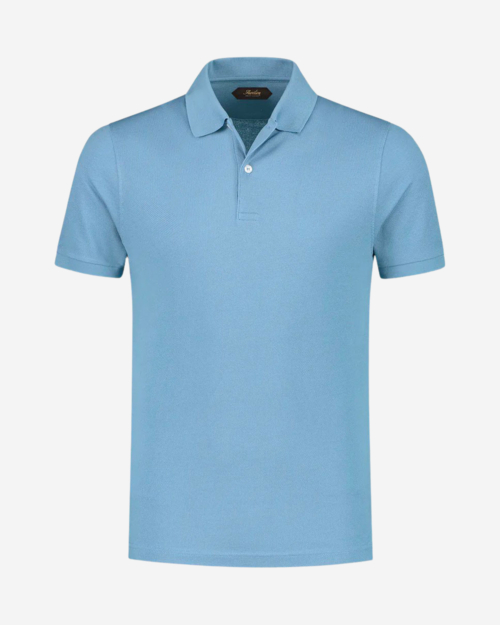
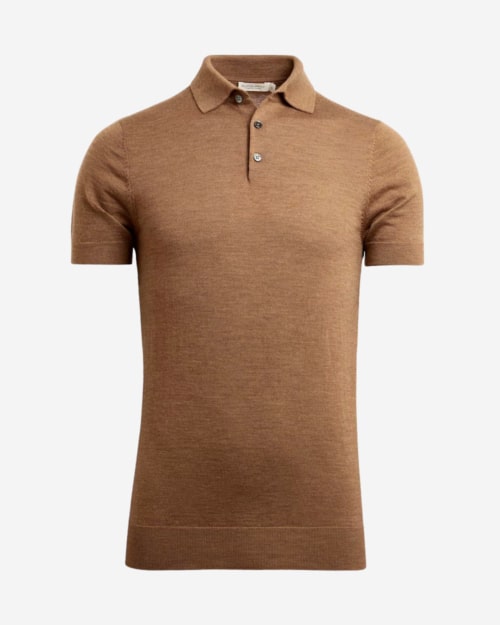
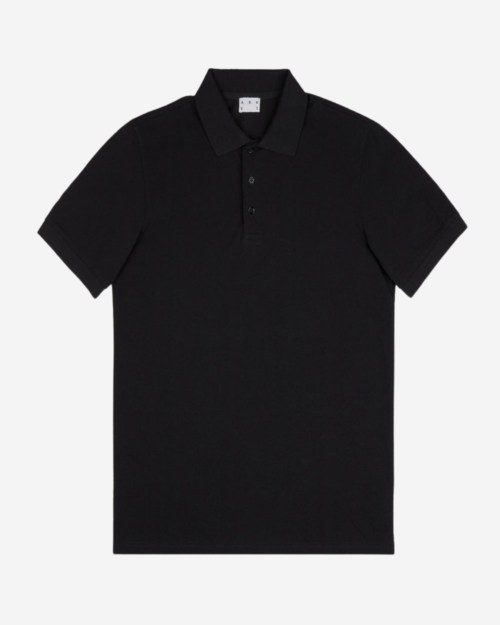
While the original polo shirts were really OCBDs, today’s polos were largely popularised by René Lacoste. The French tennis legend developed his own open-weave short-sleeved cotton shirt in the 20s, long before Ralph Lauren singlehandedly turned it into an iconic piece of modern Americana and a must-have garment for Ivy League students and upwardly mobile Americans.
Today’s polo shirts are incredibly versatile, and depending on the fabric they’re cut from, can be worn with smart tailoring, casualwear, a preppy aesthetic, or as sportswear. The most common casual style is typically cut from a cotton piqué cloth. Designs cut from soft cotton jersey tend to be smarter due to the relaxed drape. They’re a great option for wearing with tailoring or suit separates, when you want to put together a more polished casual style. Lastly, there are luxurious cashmere and merino options – both ludicrously soft and tactile.
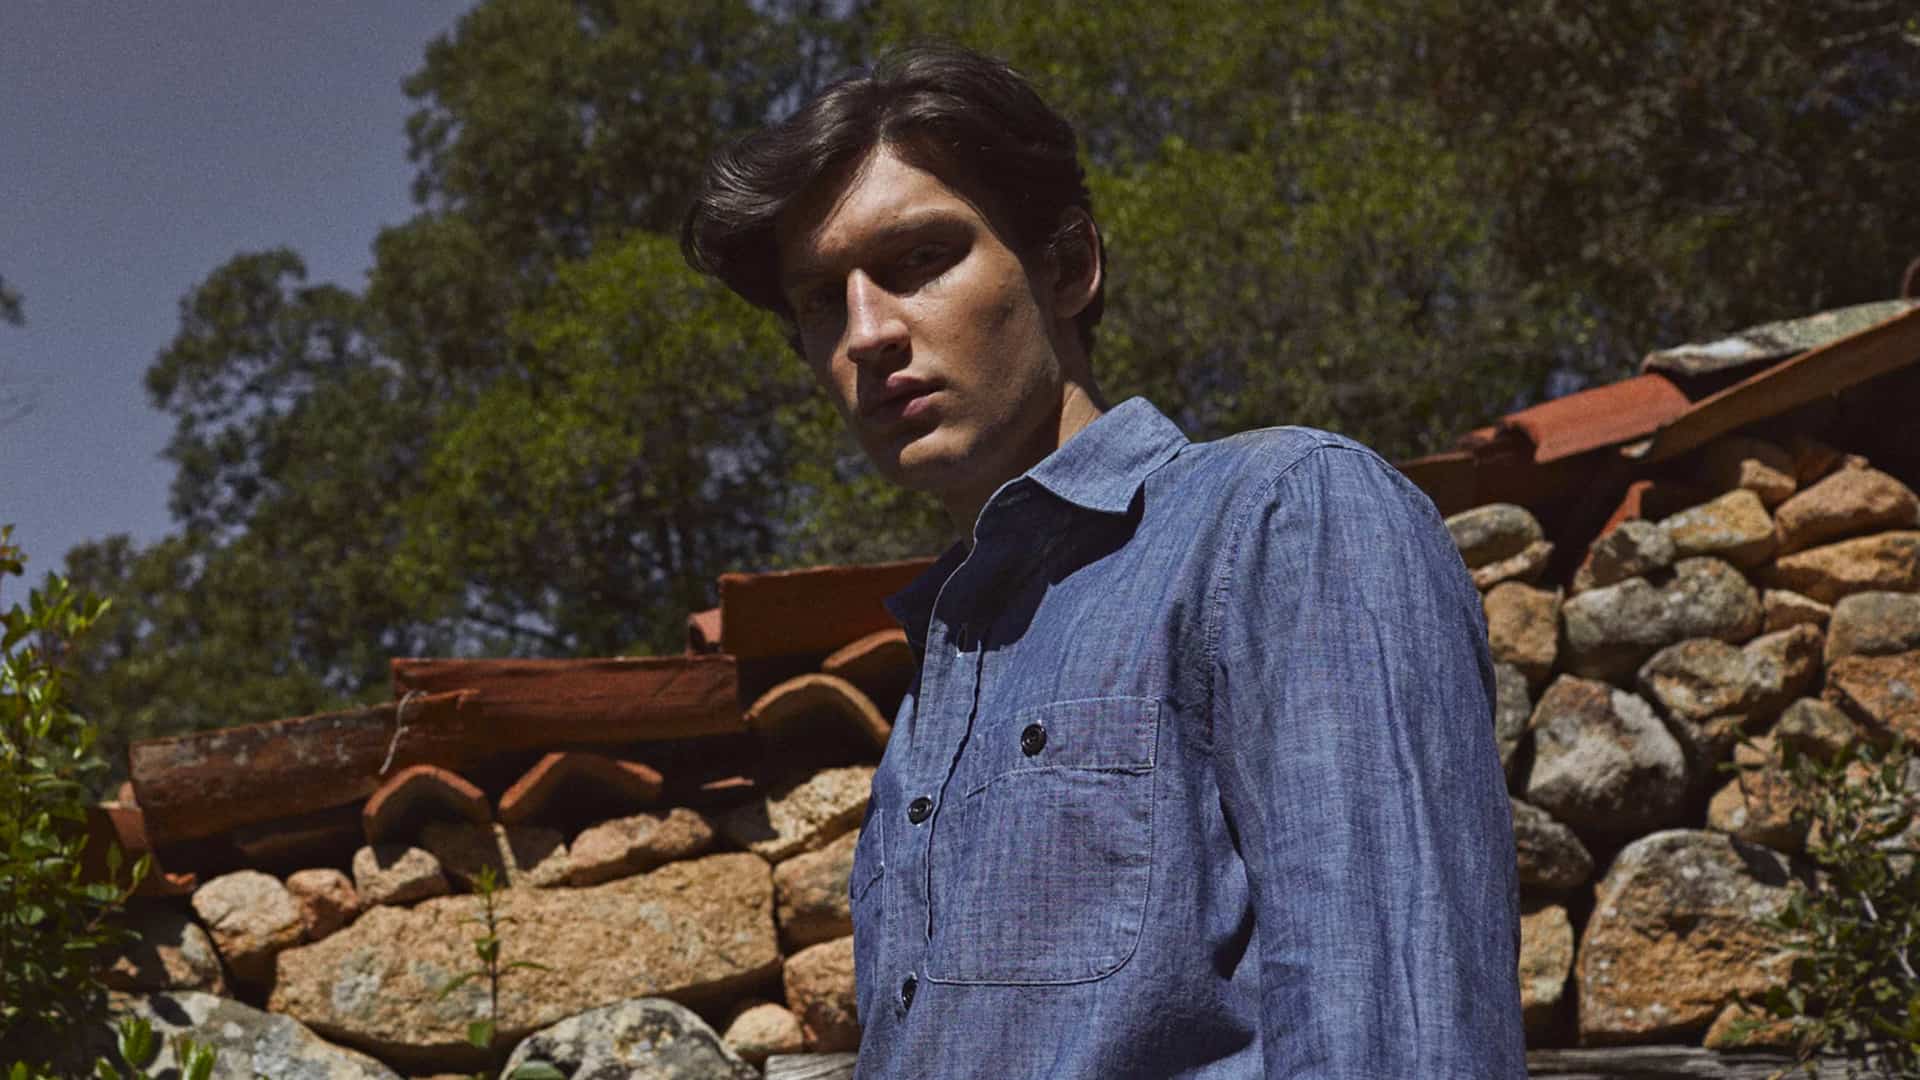
Chambray/denim shirt
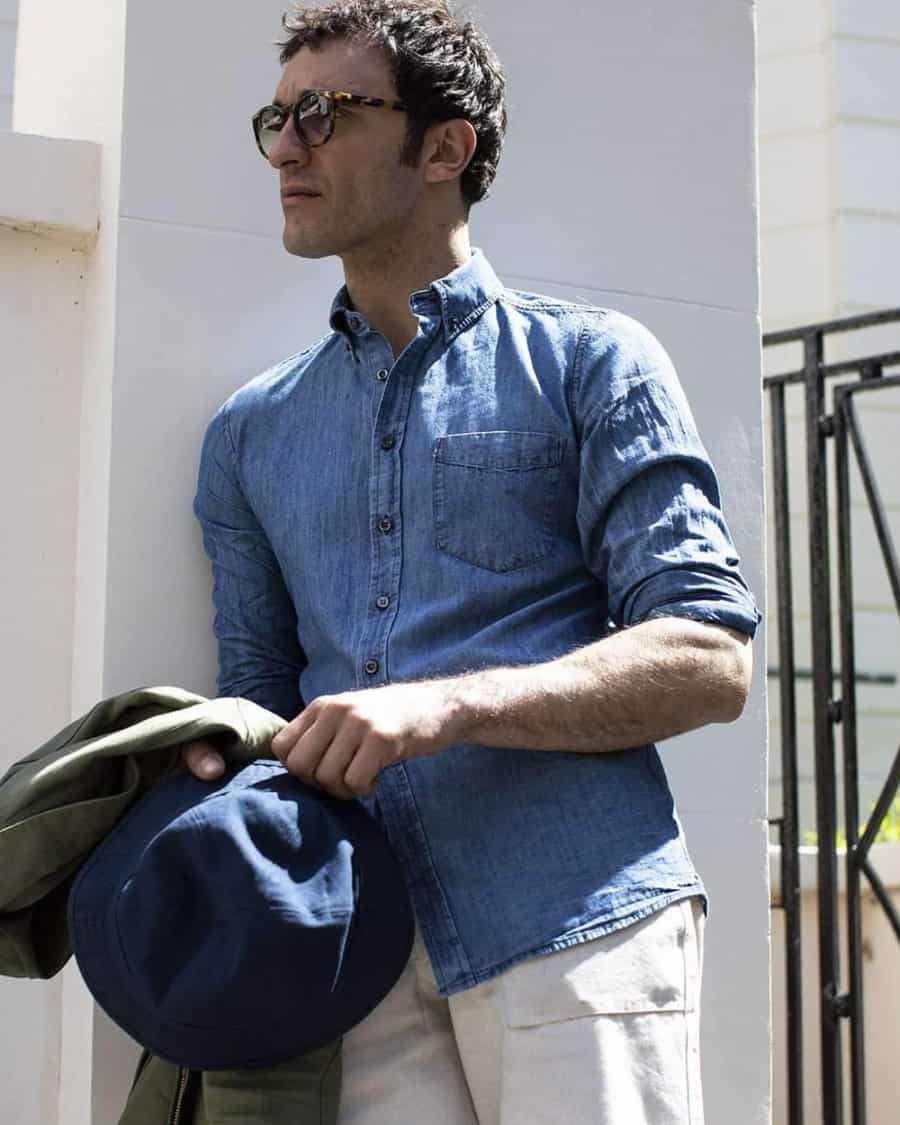
Private White V.C.

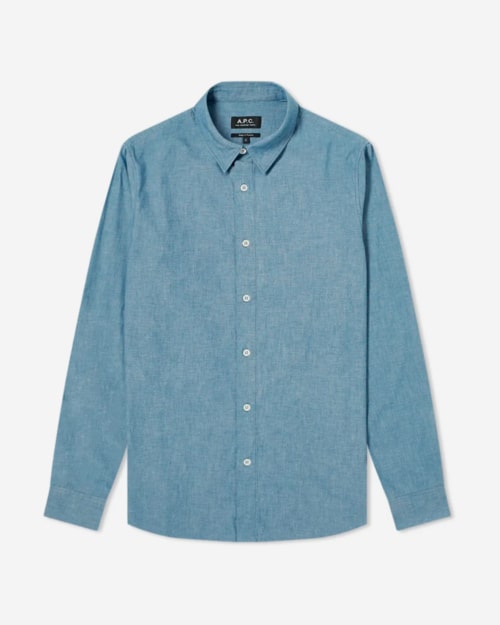
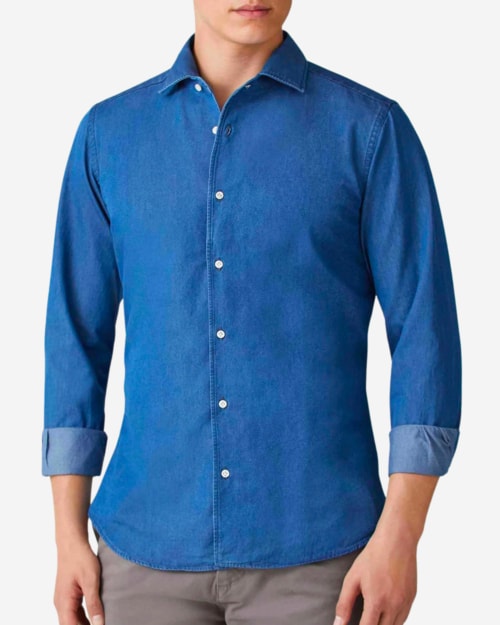
An icon of Americana, the denim shirt is a non-negotiable menswear classic and a hallmark of the traditional workwear wardrobe. Rugged, versatile and an icon of the American West, the denim shirt has been globally appropriated, evolving from its blue collar roots to be worn in all manner of guises, including with smart tailoring.
Unlike denim jeans, which are more coveted when constructed from raw selvedge cotton with a twill weave, luxury denim shirts tend to be actually made from chambray, which has a plain weave, making it much softer and with a subtle nap.
Chambray is much better suited to shirt construction, thanks to its natural drape and being that much lighter in weight than denim. With so many variants on the market, from two-pocket field shirt styles to chambray dress shirts, you’ll find no shortage to suit your aesthetic.
Cuban Collar shirt
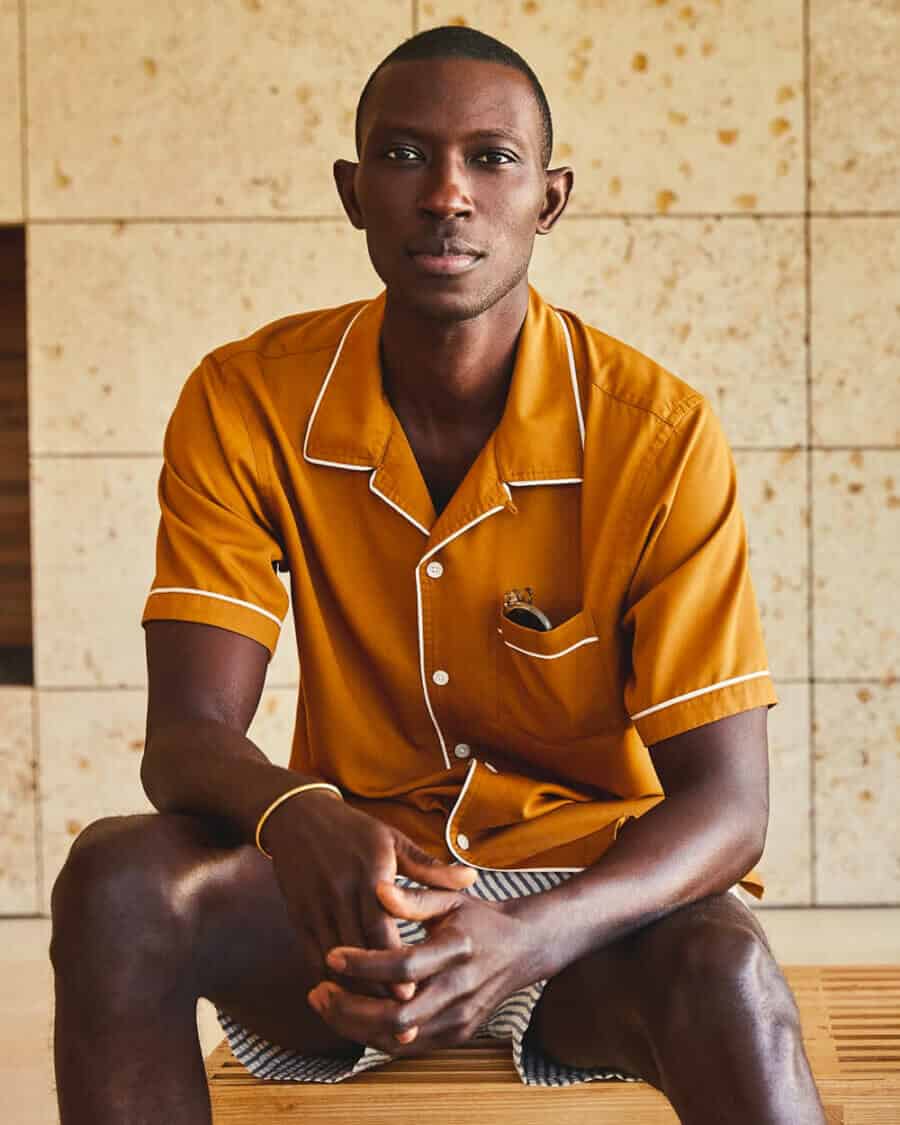
Todd Snyder

The Cuban (or camp) collar shirt, has become a summer staple in recent years, defined by that small lapel structure that folds over to the first button. The style evolved from a lesser-known piece called the guayabera shirt, which is thought to have originated some time in the 18th century in the city of Sancti Spiritus, Cuba.
The story goes that a wealthy landowner asked his wife to create him a shirt with multiple pockets cut from a lightweight cotton fabric called batiste. The landowner’s fruit-picking workers decided to copy the shirt and named it yayabera, after the river that ran through the estate. The early versions of the guayabera had four front pockets and decorative embroidered panels running either side of the placket, most of which have disappeared in favour of the more contemporary style we know today.
Cut from cotton, terry cloth, silk or linen, the Cuban collar shirt is a modern warm-weather classic that can be worn both casually and with tailoring. It works especially well beneath a summer suit – just make sure you wear it with the collar resting outside of the jacket lapels.
The history of the shirt
The earliest recorded shirts date back to the 18th dynasty of ancient Egypt, circa 1539–1292 BCE, when they were literally two pieces of square cloth sewn together at the sides with holes left for the head and arms. It wasn’t until about the 14th century that the first semblances of a collar and cuffs came into being.
For the vast majority of the shirt’s evolution through the ages, it took the form of a smock that one pulled over, and they were for the most part worn as undergarments. That changed in the 16th century when shirts became embellished with embroidery, lace, frills and other decorative elements that would be displayed beneath a gentleman’s outer garments. The shirt frill quickly became a sign that the wearer was a member of the aristocracy – so much so that a law was passed in England that forbade persons of a lowly social rank to wear such items, hence the saying ‘no frills’.
Regency dandy Beau Brummell was a huge advocate of the frilly shirt in the late 18th and early 19th centuries, until the Victorian age ushered out such frivolities in favour of a more austere and sombre aesthetic, which did away with elaborate neck cloths for what we know as today’s shirt collars.
Now, shirts are ubiquitous the world over, and have laid claim to all genres of menswear, both smart and casual, which is why they are such an integral part of the modern man’s wardrobe.